MENU
Skip menuInstallment 2 - Continuing to gut the interior
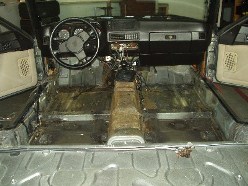
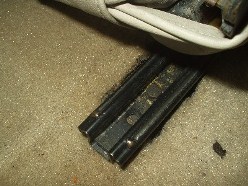
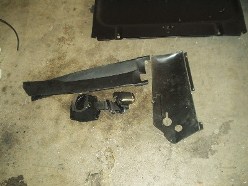
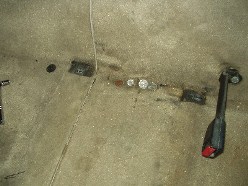
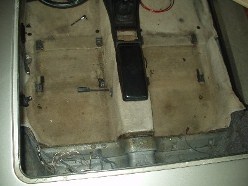
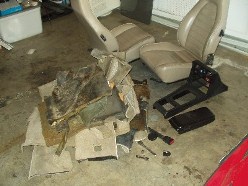
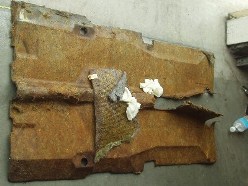
With the rear seats and carpet removed, I thought I would pull the front seats and continue ravaging the interior. With the front seats set full forward you can get to the rear mounting bolts of the rail. You’ll need a 1/4 inch ratchet and small 10mm socket to get to these. No problem I thought to myself, who doesn’t have that stuff in their tool set? Well, I don’t, that’s who. My 1/4 inch ratchet was missing and after about 30 minutes of looking for it, I gave up and bought a new one. I picked up a heat gun while I was out too, to help remove the sound deadening. Okay, where was I? My manual seats were a breeze to remove, especially since my driver’s seat rail was missing one bolt. With the seats, center console and cassette tray out, I pulled on the remaining carpet, starting from the rear seat end. Most of the removal is very straightforward, with the exceptions being the area around the pedals and DME. For those areas, I took a sharp blade and cut the carpet to facilitate removal of the bulk of it, leaving smaller more manageable sections in the hard to get areas. To my surprise, and disgust, the mats under my carpet were soaked and the water that was sitting under them was cloudy and reddish. Let that be a lesson to you: no driver’s side window + 3 days of rain while your car is sitting in a yard with no cover = wet carpet. With the carpet out, the tar mats in the foot wells can be removed. The easiest bit of all is the sound deadening on the center tunnel; mine was glued down only lightly and it came out in one shot. That about does it for the bulk of the interior. Moving on to the sunroof.
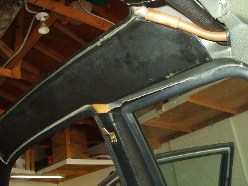
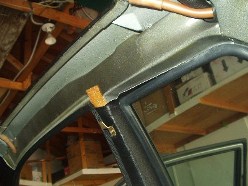
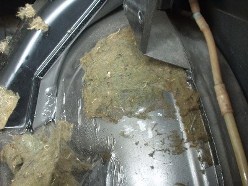
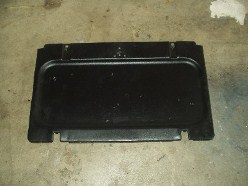
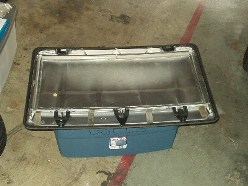
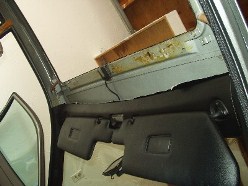
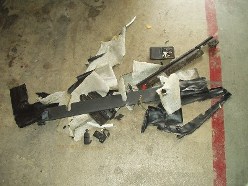
With the sunroof removed from the car, the vinyl panel attached to it can be removed. Pry the plastic caps off the screws and remove the plastic snap-in clasps surrounding the piece. Trying to salvage these is nearly impossible, at least for me. Out of 8 or 10 I was only able to get one out without damaging it. Next comes the vinyl on the roof of the interior. Good luck if you plan on reusing any of this stuff. The fabric tears fairly easily, so carefully pulling at the edges will allow you to remove fairly large sections at once. More sound deadening can be removed here:
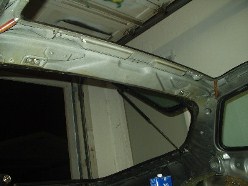
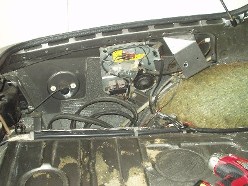
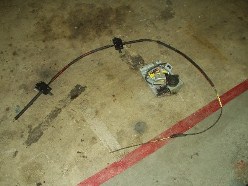
The sunroof motor and opening assemblies were removed next; I was more than happy to rip this complicated mess out of the car. I started at the motor, disconnecting the harness and unbolting the assembly from the chassis. With it loose I removed the screw holding the heavy cable to the motor and freed the two. Loosening the two latch bits at the rear of the sunroof allow you to then pull the cable from the chassis, pulling it through the sunroof opening. Doesn’t the shell look better?
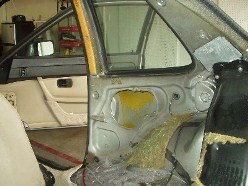
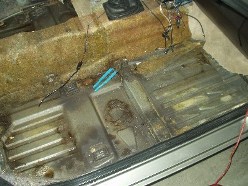
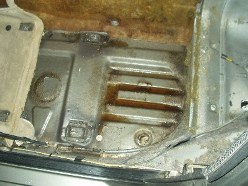
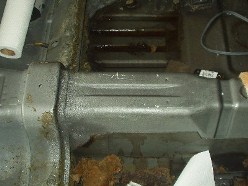
Okay, so it doesn’t look much better. Removing the adhesive from the chassis is far and away the most time consuming venture yet (No suprise there). Insert heat gun and incredibly harsh, nasty solvents here. I started using the heat gun on the remaining sound deadening on the rear wheel well, with the gun on the lowest setting: 630*F. Even at the lowest setting, when the adhesive starts to release so does the paint. You can see light colored areas in the picture that indicate the top layer of paint having been removed.
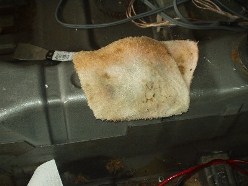
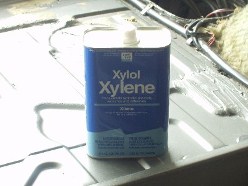
Next came the Xylene. I had a little bit of this stuff around from another project, so I thought I’d give it a shot. Under no circumstances should you use this stuff without an adequate respirator, full eye protection (chemistry class style) and as much ventilation as you can get. A rag soaked with this stuff left on an area for about 15-20 minutes will make the adhesive come right up. Be prepared to use a lot of Xylene and rags though. On areas with a light “fuzz” of absorbent sound deadening I just poured the Xylene over it and let it soak in. Be sure not to use too much. After only a few minutes, it all came right off. It sounds easy, but man is it going to take a long time to get the whole chassis clean. Oh, and did I mention I’ll be grinding off all the unneeded tabs and mounts when it’s all clean?
The next installment will include custom sunroof hold down brackets, more adhesive removal and maybe the dash removal (again, depending on alcohol and/or Xylene fumes).
